Although the HDZero Goggle comes with most of what you need to get started, there are a few things you will want to purchase to complete your goggle setup. On this page, I’ll give my recommendations for the best accessories for your HDZero goggles.
If you prefer to watch a video about recommended accessories, I like Ryan Quellet’s video on this topic. He has great recommendations, and I mostly agree with the products he discussed (several of them are on this page).
Note: The product links on this page are affiliate links. I earn a small commission if you purchase products through these links. For more information, see my affiliate link policy.
Antennas For The HDZero Goggle
Antennas are a critical part of the performance of your FPV feed, and it’s worth choosing the right antennas for how you fly and spending money on quality antennas. The HDZero Goggle requires 4 SMA 5.8ghz antennas, and you need to attach all four antennas for the best performance.
Although you can use either LHCP or RHCP polarized antennas, I recommend using RHCP for HDZero. You must match the polarization between your goggle antennas and VTX antenna, and most HDZero products come with RHCP antennas if an antenna is included.
The best antenna choice is dependent on how you fly, so see below for my specific recommendations.
Close-Range or Unobstructed Flying
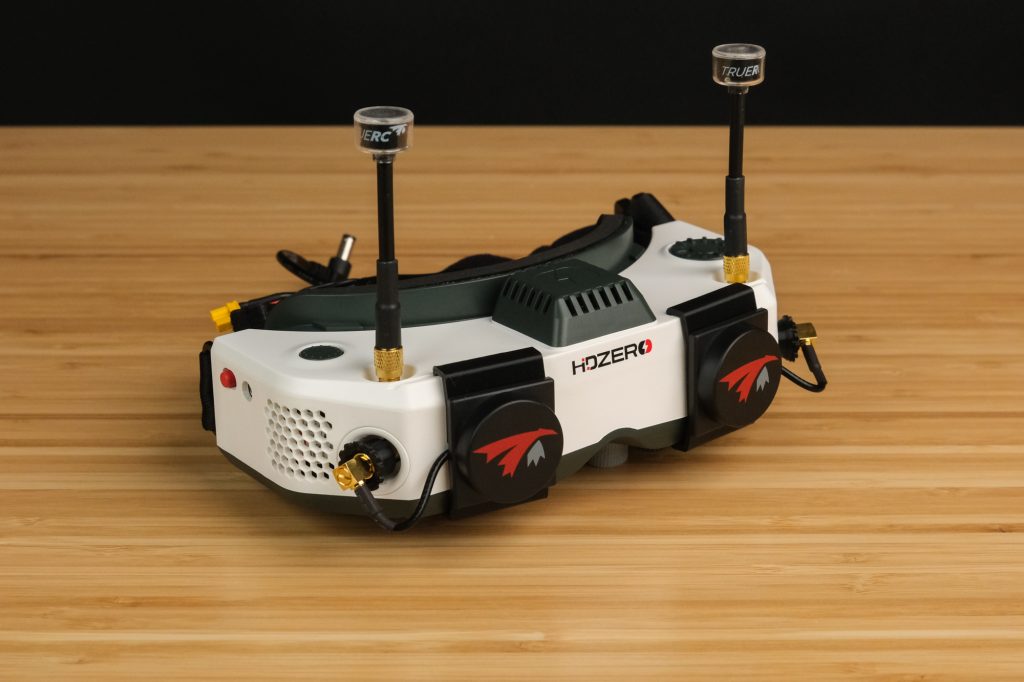
Recommendation: 4x Lumenier AXII2 RHCP Stubby (buy here: RaceDayQuads | GetFPV) or 4x TrueRC Singularity RHCP Stubby (buy here: RaceDayQuads | GetFPV)

If you fly whoops around your house or fly in an open area where you generally have an unobstructed view of your drone, I recommend using 4 stubby omni antennas. Specifically, I’d go with Lumenier AXII2 stubbies, although you could also consider TrueRC Singularity antennas. These antennas provide excellent performance and their compact nature means you won’t have to remove your antennas when you put the goggles away after use.
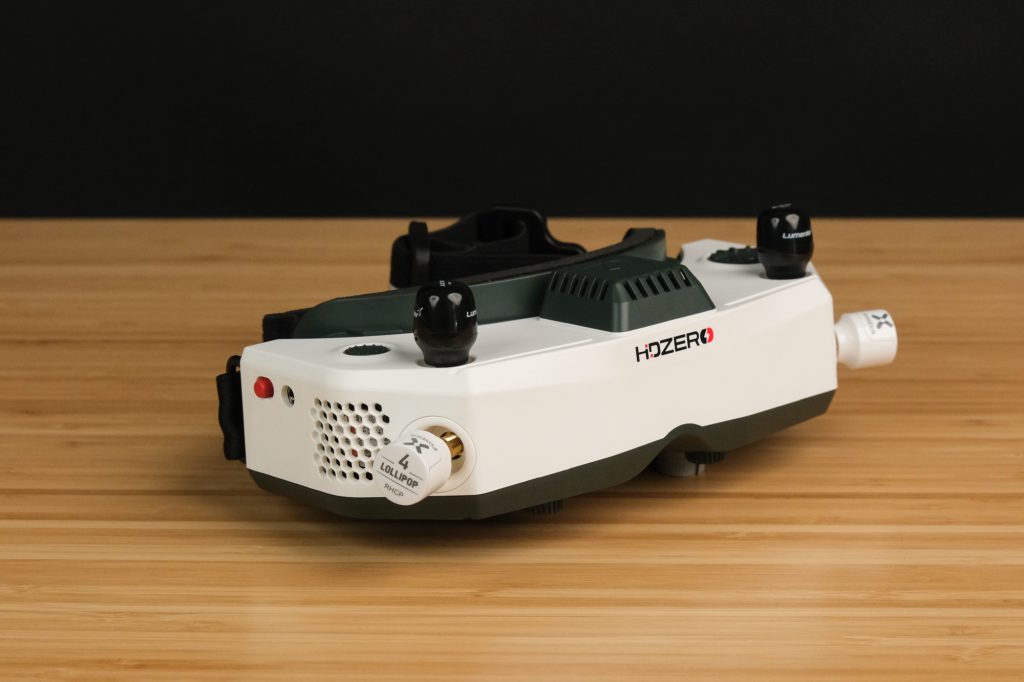
I personally have had good success with Foxeer Lollipop 4 antennas as well, but others have had lower performance with them, so I would recommend going with the Lumenier or TrueRC options.
This antenna setup is tried and true by many pilots, and is popular with racers as well. It’s simple, with no real need to aim the antennas accurately, and keeps your goggle setup compact and lightweight.
General Purpose Flying
Recommendation: TrueRC X-Air MK II Pair for HDZero Goggle (buy here from TrueRC) + 2x TrueRC OCP (buy here: RaceDayQuads | TrueRC) or Lumenier AXII2 RHCP (buy here: RaceDayQuads | GetFPV)

If you like to fly in all directions but sometimes want to fly farther away or fly behind obstacles, you would be best served by a combination of two patch antennas and two omni antennas. This is possibly the most common antenna setup in FPV, and gives you good long-range performance directly in front of you while still retaining the ability to fly behind your position.
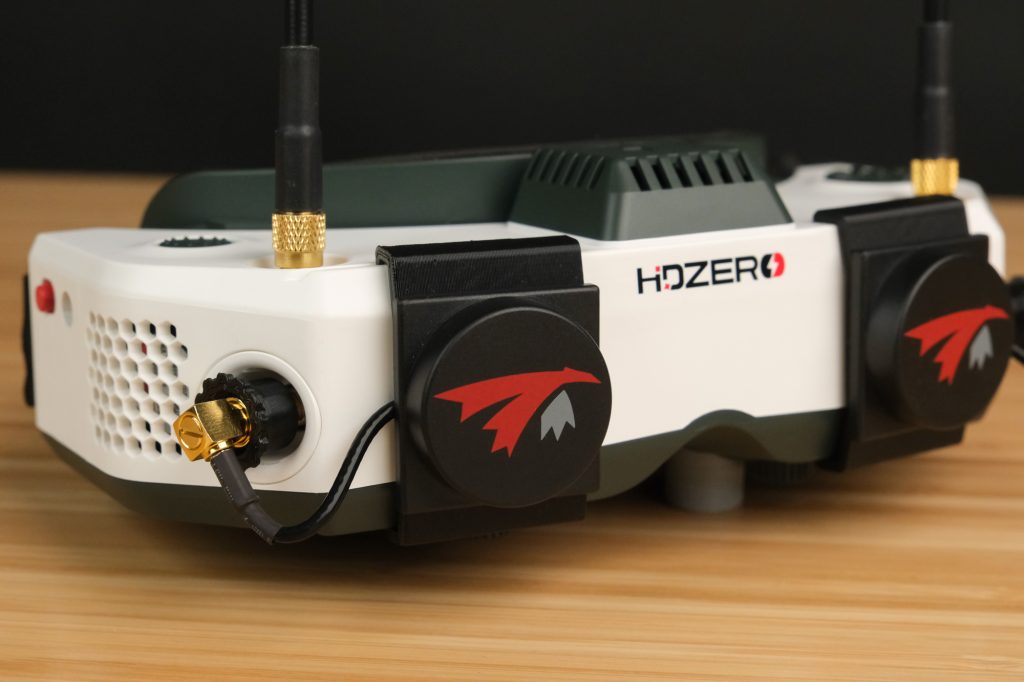
For the HDZero Goggle, I highly recommend using the TrueRC X-Air Mk 2 or X2-Air Mk2 patch antennas. You can buy these antennas with pre-installed 3D printed brackets that secure the antennas to the rail system on the front of the HDZero Goggle, which results in an impressively compact and sleek setup.
You should install the patch antennas on the front SMA connectors, and use two omni antennas on the top connectors. You could use stubby antennas here, but for better performance, you can use longer omni antennas that raise the active elements higher above your head, improving signal reception. For this, I’d recommend either the TrueRC OCP or the Lumenier AXII2 antenna (and don’t forget you need two).
Long Range Flying
Recommendation: 4x TrueRC X2-Air MKII (buy here from TrueRC) or custom-made helical antennas
For true long range flight (miles or more), you will want to use a full set of directional antennas. There are many options here, ranging from the compact TrueRC X-Airs, to dinner-plate sized triple-feed patch antennas, to homemade helical antennas.

If you’re looking to buy a simple set of antennas that will improve your long-range performance without drawing too much attention, it’s hard to go wrong with any of the TrueRC patch antenna options. You can put these patch antennas on all four SMA connectors on the goggle, and you’ll get much better long-range performance than omnis would give you.
However, if you’re truly serious about long-range flight and looking for the best possible performance, you’ll need to look into other options. One that I find interesting is building helical antennas yourself, which provide extremely high performance at long range, at the expense of being very directional. You might find this video from GiantAntCowboy informative if you’re considering this approach (keep in mind that for the HDZero Goggle, you won’t need the UFL to SMA adapters he discusses in the video).
There are also other options, such as triple-feed patch antennas that provide higher performance than the TrueRC X2-Airs at the cost of size and weight. For more information on long-range flight with HDZero, I’d recommend checking out the #long-range channel in the HDZero Discord server.
Batteries For The HDZero Goggle
The other major decision to make is how you will power your HDZero Goggle. The goggle has a standard DC barrel jack and supports 2-6S batteries through an included XT60 cable, but I have some more specific recommendations.
Option 1: Flight Battery (LiPo Pack)
Recommendation: 3-6S LiPo battery, 1500+ mAh
The most straightforward way to power the HDZero Goggle is by a LiPo battery in your pocket or on a table nearby. This could be a flight pack from a sufficiently large drone, or a battery you purchase specifically for the goggles. The HDzero Goggle consumes a lot of power, so although 2S is supported, I wouldn’t recommend using a 2S battery unless it’s very high capacity – over 3,000 mAh. Anything less will not give you much flight time, and you’ll be constantly switching batteries.
If you choose to use a 6S battery, be aware that the 6S voltage is close to the top of the supported voltage range for the goggles. Avoid using a HV-charged 6S battery in the HDZero goggle.
Option 2: Head Strap Battery
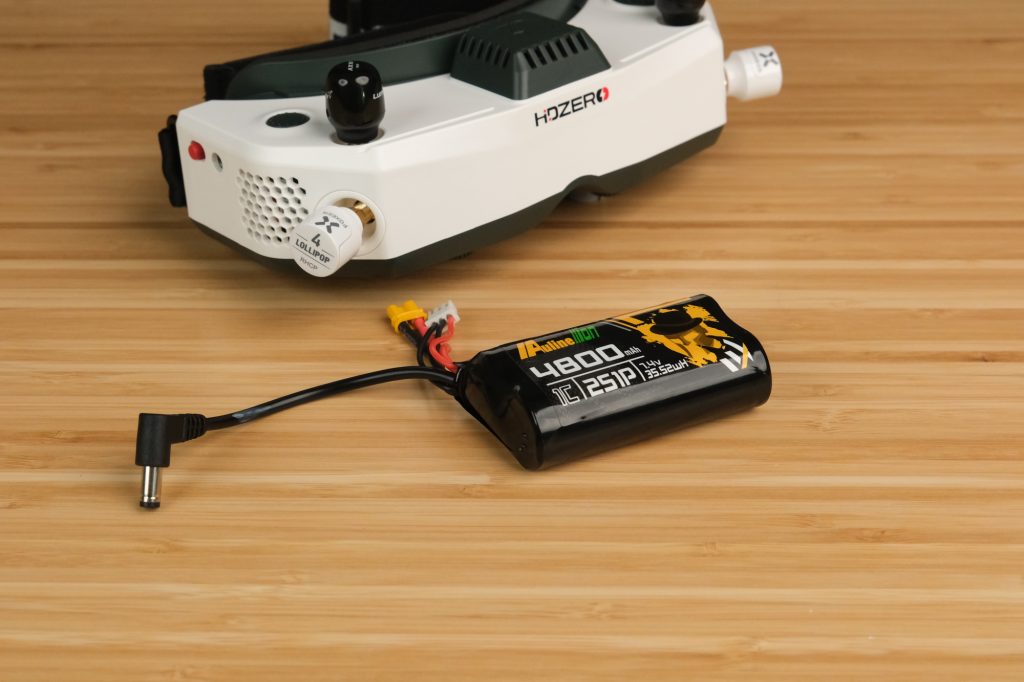
Recommendation: Auline 2S 4800mAh Li-Ion Goggle battery (buy here: RaceDayQuads)

Another option is to use a smaller battery on the goggle head strap to power the goggles, and the head strap included with the HDZero Goggle has an elastic loop for this purpose. The advantage is that you avoid having a dangling wire to deal with, and your goggles are no longer tethered to your pocket. The disadvantage is that you can’t fit as large of a battery in the head strap comfortably, so you’ll need to swap batteries more often.
My recommendation is to look for a small 2S or 3S battery for this purpose. One interesting option is this Auline 2S 4800mAh Li-Ion pack. I’ve tested this one and it fits perfectly in the goggle headstrap battery pouch and provides a long run time on the goggle. You could also use the RDQ 2S 3000mAh goggle battery, which has a built-in voltage checker (cool) but a rather low capacity.
I would avoid using the various 18650 battery case goggle battery options. Although I used to like this approach, I’ve found that HDZero receivers consume way too much power to make these a viable option–they run out too fast. Additionally, if you’re using any 18650 case other than the FatShark-branded one, most have a current-limiting function that will not allow them to supply enough current to operate the HDZero Goggle.
Option 3: USB-C Battery Bank
Recommendation: USB-C PD to Barrel Jack Adapter (buy here: Amazon) + Anker PowerCore Essential 20K PD (buy here: Amazon)
A slightly unusual option that you might find interesting is using a USB-C power bank to power the HDZero Goggle. Power banks that support USB-C Power Delivery (PD) can supply sufficient voltage and current to power the goggle, and this gives you a battery that is generally high-capacity, easy and safe to charge, and useful for charging non-FPV devices such as your phone.
Because the HDZero Goggle doesn’t have a USB-C port, you’ll need a small adapter to convert from USB-C PD to the DC barrel jack power input. This adapter not only converts the plug to the right type, but also communicates with the power bank to instruct it to supply PD-level voltage to the the connector, which allows you to power the goggle successfully. Fortunately, these adapters are extremely cheap, and you can find several options on Amazon.
You have many choices for power banks (and don’t forget that you can also use a USB-C phone or laptop charger). I like the Anker brand, but really you can use any power bank that supports USB-C PD. You can also get power banks in various sizes, depending on whether you want to fit it in your pocket while flying or if you want to use it for other purposes beyond FPV. If you’re just looking for a power bank for the HDZero goggle, I’ll recommend this Anker one.
MicroSD Card For The HDZero Goggle
Recommendation: Samsung Evo Select 128GB microSD Card (buy here: Amazon)
You will need a microSD card for your HDZero Goggle to record DVR of your flights as well as to update firmware on the goggle and HDZero VTXes. Although the HDZero goggle doesn’t have a published card size limit, I prefer to avoid using cards that are too large (they just encourage me to never clear my DVR). You can use almost any microSD card, but I have always had good luck with the Samsung Evo series of cards.
What Else?
There are certainly plenty of other accessories you could buy for your HDZero goggle, such as more antenna options, a hard case, an external microphone, or an analog input module. But what I’ve described on this page are what I consider to be the must-have accessories to go with the goggle. I highly recommend everything I’ve mentioned here, and I recommend you buy these or similar products to be ready when you receive your HDZero goggle.
If you are aware of any critical accessories that I haven’t mentioned on this page, or if you have a product to recommend that you think is superior to what I’ve mentioned here, send me a message so I can update the page.